
Your Guide To Microgreens
and how to grow your own!
What are Microgreens?
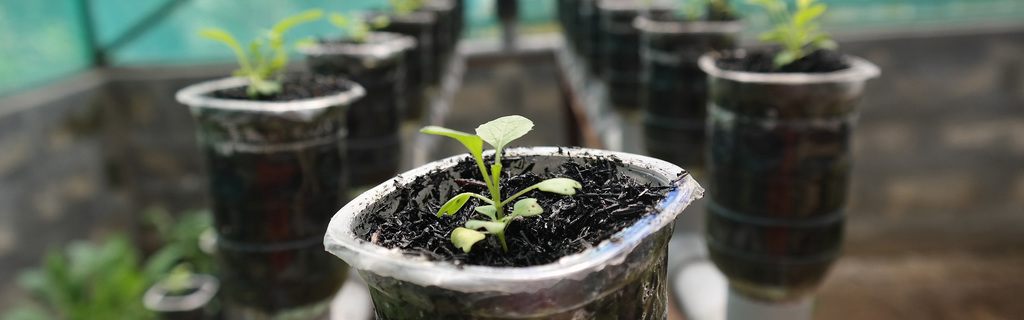
Microgreens are the early leaves and stem of herbs and vegetables. They are about 1-2 weeks old meaning that they are older than sprouts but younger than baby vegetables.
They also pack incredible nutritional value as they're filled with vitamins including vitamin C, vitamin A and vitamin K alongside antioxidants. The flavour of them can range from mild to tangy, spicy, or peppery - it all depends on what plant they stem from. As well as that, microgreens are great to garnish food with; rather than having to choose between aesthetic and taste, you get both!

Microgreens and Micronutrients, miniscule in name only!
On top of your vitamins and antioxidants, microgreens are also high in potassium, iron, zinc, magnesium and copper. Antioxidants help the body eliminate unstable waste molecules from environmental pressures such as pollution.
Research shows that these young seedlings often contain larger amounts of vitamins, minerals and antioxidants than when they have matured. Eating foods like these are have said to prevent a range of diseases. Interesting, right?
On top of that, growing your own is easier than you might think...
- First, test your pH levels. Microgreens do best in the pH range of 5.5-6.5 and you should always go for filtered water.
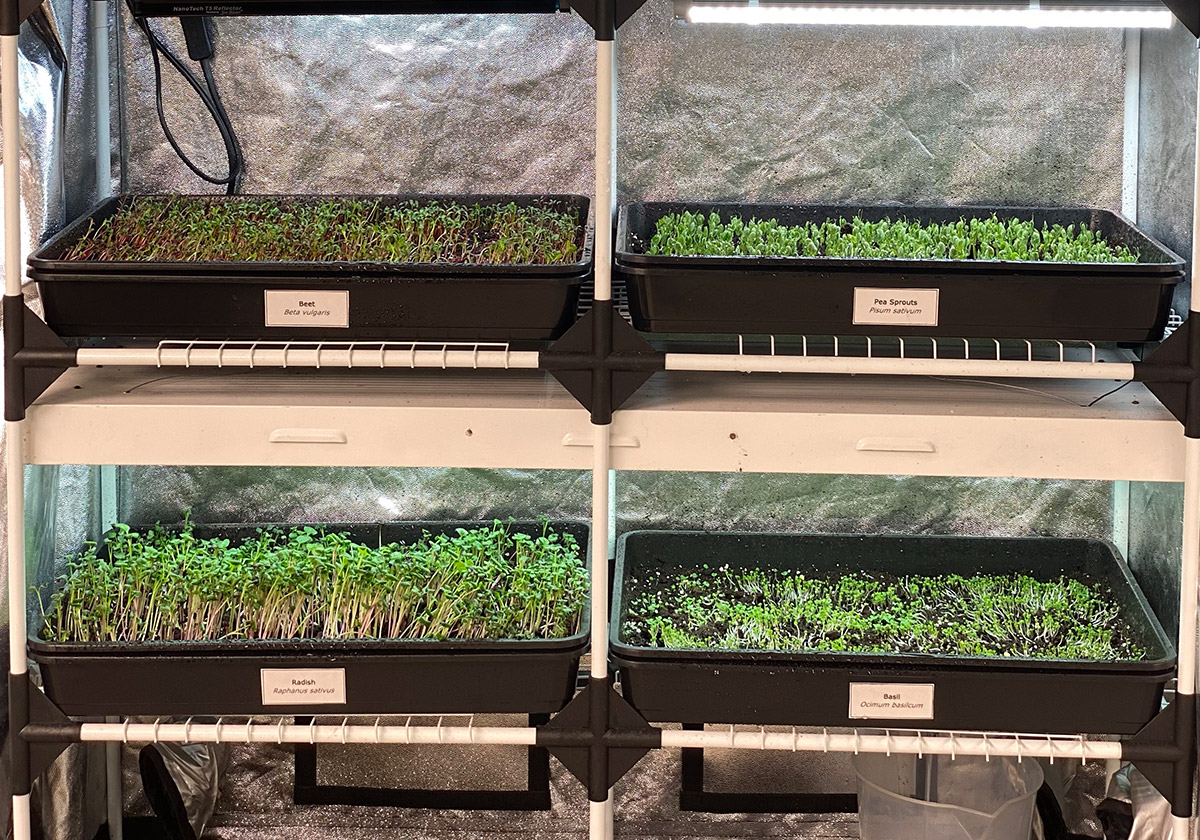
- Next, you will need to use plastic trays with hydroponic growing pads. Pour the water and ensure that the pads are wet with no dry spots, you need to lay them flat for seeding.
- Make sure that the seeds are spread evenly - bearing in mind that each type of microgreen requires a different seed density. So you should always research to find the optimal density for your crop.
- Once you’ve added your seeds, you must mist them with your spray bottle preferably using a nutrient solution.
- Next, grab an empty, dark tray of the same size, spray the inside and mist it evenly.
- Put the tray upside down on the top of the growing tray, this will ensure that moisture and humidity are kept whilst also keeping the seeds sheltered from light whilst they start to germinate.
- Maintain an environmental temperature of 18-30°C. You should only open up your tray when misting (every 12 hours or so).
- You'll want to keep your Microgreens in the dark for at least 5 days, however, this is dependent on what you have planted (always best to double-check if unsure).
Remember this - do not water the tray. After around 5 days your greens should start to grow. Once they start to grow, you should remove the top tray (the one blocking the light) and place the grow under lighting. Water them with a weak hydroponic solution.
After 10 to 12 days, most microgreens will be ready to harvest Rinse and dry them well, then place them between moist paper towels and enjoy!
...and a few final words of wisdom
- It may be tempting to grow them at a higher temperature as they may grow faster, but grow them at a cooler temperature (15 to 21°C). This'll help keep pests and fungus at bay
- That said, make sure they get enough light (light is more important than temperature)
- If your microgreens begin to rot or get infected by fungus, get rid of the entire tray and pad
- You can sterilize the tray with a weak bleach solution (more organic option is vinegar)
- If your plants are wilting, you’re probably underwatering them - grow pads should be kept soggy, not just damp
- Crops looking pale? You're gonna need a stronger light source!
- Crops looking burnt? Too much light!
Above all, keep it clean. You're growing food after all. Let us know if you try it out, tag us in your Microgreens posts!